Monday, April 15, 2013

Rain Art

With all the rain we've been getting this Spring I thought this would be a great activity to share! All you need is water soluble crayons, paper and a rain shower!

While it's raining outside have your little ones create lots of works of art using their water soluble crayons. Once they're done drawing, place the papers outside in the rain. Be sure to put something heavy on one or two of the corners of each piece of paper to keep them from flying away. When the rain has stopped go outside and get your art work. You'll be amazed at how it has changed!


Puffy Paint: Take 1

Our first attempt at Puffy Paint last summer was a lot of fun! The kids really liked how the paint puffed up once it was baked in the microwave!

The original blog I found this on suggest putting the paint in ziploc bags and using it like you would icing a cake. For some reason this didn't work out for us! Either I made the paint too thick or the bags were just too bulky for my kids to manage. They loved mixing the colors in the bags themselves and really enjoyed using it as finger paint. I had to help them write their names with the baggies. The next time we do this activity I'm going to put the paint in squeeze bottles in the hope that the kids can manage those a little better!

Recipe:
1 cup of flour 
3 teaspoons of baking powder
1 teaspoon of salt
Enough water to make it the consistency of pancake batter

*Divide the mix into four parts and add food coloring.
*Place your mixture into you container of choice and paint away!
*Microwave your works of art for 30-45 seconds!


Iceberg Treasure Hunt

With Summer coming I wanted to catch up on some of our activities from last year that I never had the chance to blog about!

This was just a great way to beat the heat! Although if I had to do it all over again I would make several smaller blocks instead of one giant block. The ice was so thick and hard that it took a lot more effort for the kids to dig out the treasure then I had intended. After about 15 minutes they gave up and let the sun do the work for them!

For this activity I found a variety of toys that wouldn't be ruined by the water or being frozen. I froze one layer of toys and water at a time to ensure that there would be plenty of toys throughout the block of ice. I found that most of the toys, because they were plastic, floated to the top of the water. It took a couple of days to complete this block of ice! The kids found a variety of tools and objects to help excavate!


Water Beads and Shaving Cream

I can honestly say that I only attempted this activity once! You have to be a really brave mama to attempt it! And I would recommend doing this activity OUTSIDE since it does create quite the mess! That being said, we did this a year ago and my kids STILL ask for it! I may be brave and attempt it again once the weather warms up and we can do it outside.

The water beads are a great activity. Kids just love how they feel! They are squishy, gooey, soft, wet and kids love to let them slip through their fingers or put their feet in them. For an extra layer of texture we added shaving cream to our bin of water beads. This was such a big hit that the kids ended up trying to pour them over their heads!

Do this at least once! Just be prepared for the mess!!


Rainbow Rice and the Alphabet

This is a really great sensory activity! We combined our Rainbow Rice with a set of letters I made using glass marbles and craft paint.

I found the glass marbles in the plant and flower section of my local craft store and then purchased a craft paint by Martha Stewart designed for glass. I carefully painted letters onto the marbles and let them dry overnight. Once they were dry we hid them in our Rainbow Rice and had a blast searching for them and talking about the letters we found! You can add another level of difficulty to this activity by having your child think of a word that starts with the letter they found or having them put the letters in order!

You can find the directions on how to make the Rainbow Rice in this post on my blog http://www.craftsandactivitiesforcrazykids.blogspot.com/2012/09/rainbow-rice.html


Tuesday, April 2, 2013

Dot Marker Rainbows

I adore these Dot Markers! Whoever decided to make a kid version of the Bingo Markers was a GENIUS! Our set has been in use for over 7 years! I am serious! We bought one set 7 years ago when our oldest was a toddler and they are still going strong. We have lost 2 of our 6 colors in our crazy house, but they have never run dry! I am about to upgrade to a new set with more colors, but for now these are still one of my go-to items when I'm searching for something to do with the kiddos.

On this particular day I decided that I wanted to make a Rainbow and my 3 1/2 year old twins decided that they would make Rainbows too! Of course since we only have 4 colors our Rainbows consisted of Purple, Blue, Red and Yellow.

I love how different our Rainbows turned out! You can really tell that our littlest kiddos are starting to develop some serious art skills and imaginations.

This is a great website with lots of printables for use with your Dot Markers:
 http://simplymontessori.blogspot.com/2010/11/do-dot-marker-activities-free.html


Dying Easter Eggs: The Old Fashioned Way!


First, let me say that I know MANY people who love buying those fun Egg Dying Kits at the store! But my family has dyed Easter Eggs for generations using three simple ingredients:

-Boiling Water
-Apple Cider Vinegar
-Food Coloring

For each color prepare a mug or cup with 1/2 cup of the boiling water and 1 tablespoon of the Apple Cider Vinegar. Add the food coloring to make any color you desire! This is so easy to do that you don't mind it when the kids beg to make new colors every two eggs! My grandmother, mother, aunts, sister and my kids ALL love dying Easter Eggs! We have dyed them together for years and the adults think it's just as much fun (maybe even MORE fun!) than the kids do! We dye about 5-6 dozen eggs and we are always disappointed when they are gone! My kids also love to eat hard boiled eggs and pickled eggs so none of the eggs we dye are wasted!


Resurrection Rolls: An Object Lesson About Jesus for Easter

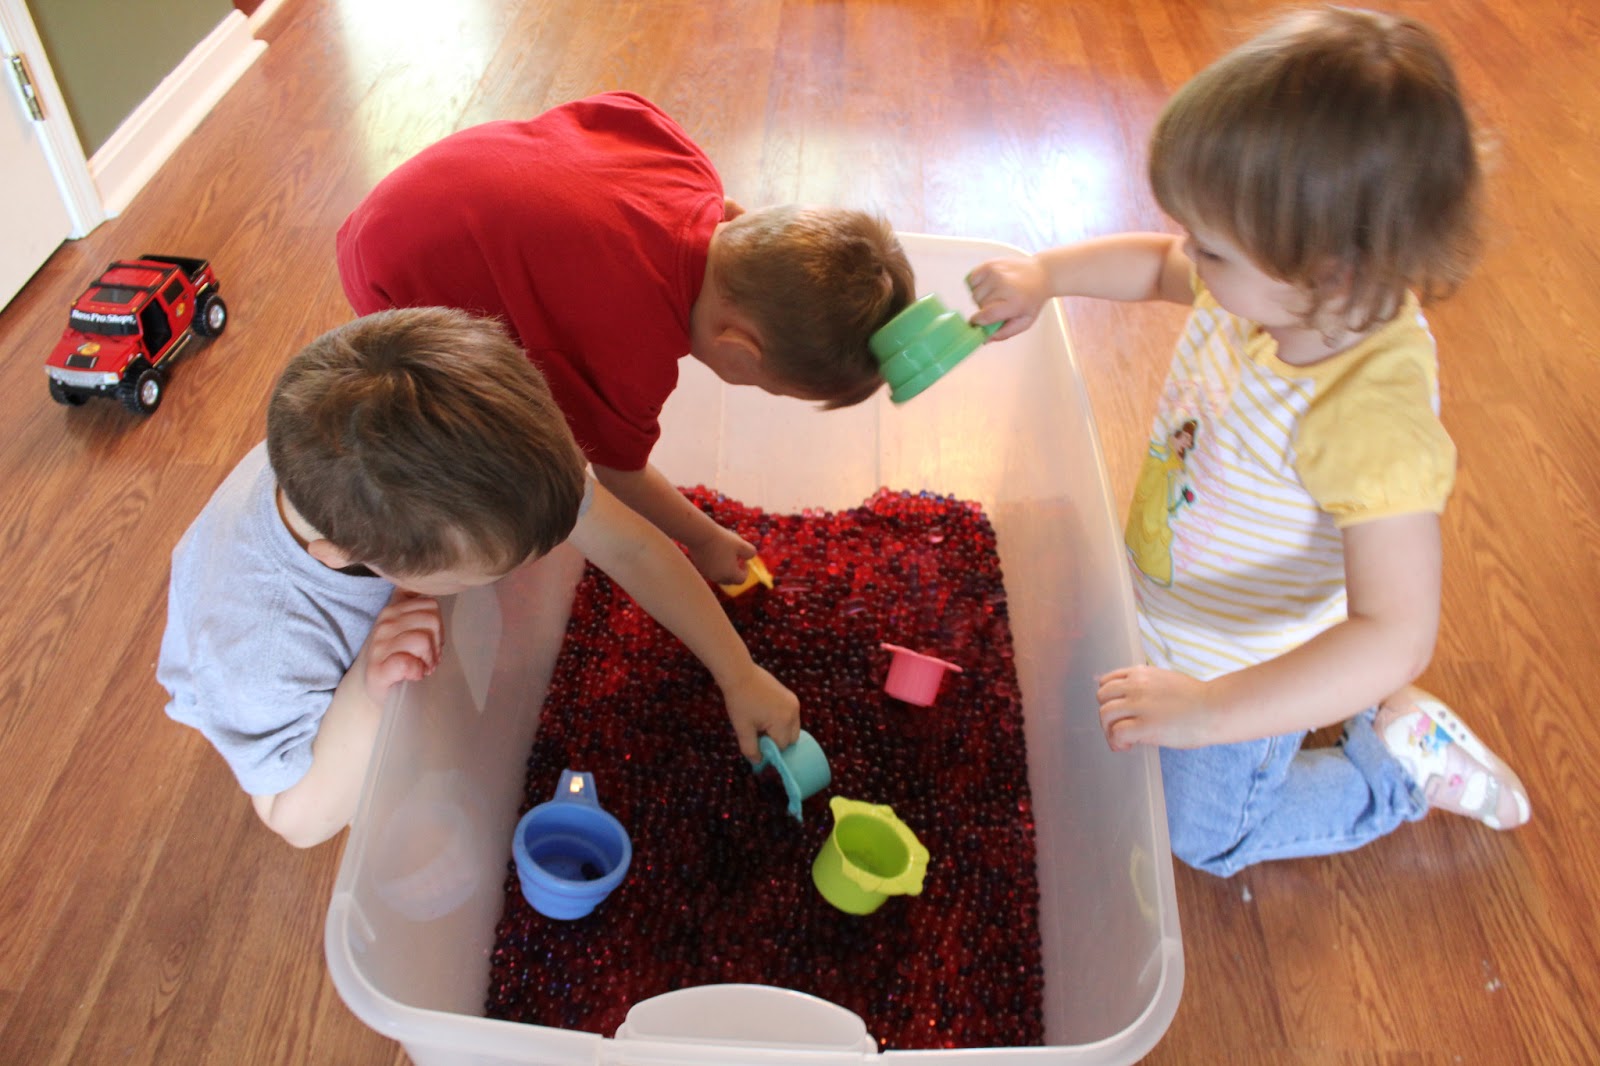
This is a really neat object lessons for kids about Easter and the Story of Jesus! We did this the Saturday night before Easter because we had spent the day dying Easter Eggs and at an Easter Egg Hunt and we wanted to bring the focus back to Jesus and the reason we celebrate Easter. This was a big hit with our kids and we will definitely do it again next year!

This worked great because I had my mom help us out. She read the Bible verses and told the story of Easter to the kids while I helped them with their Resurrection Rolls. If you have older kids, doing this with one adult would work out fine. I have four that are 7 and under and felt I needed the extra help to keep everything under control.

You will need:
Crescent Rolls
Melted Butter
Cinnamon and Sugar Mixture
Marshmallows
Cookie Sheet sprayed with Pam.

Bible Verses: Read these ahead of time and familiarize yourself with the story of Easter.
Matthew 27: 57-61
Matthew 28: 5-8

1. Give each child a marshmallow. These represent Jesus.
2. Describe how after Jesus was crucified he was taken off the cross and his body was prepared for burial.
3. Dip the marshmallow in the melted butter which represents the oils that were used for embalming and preparing bodies for burial during Bible times.
4. Put the marshmallow in the cinnamon and sugar mixture, making sure to cover the marshmallow completely. Tell the kids that this represents the anointing spices that would have been rubbed on Jesus as they prepared to place his body in the tomb.
5. Wrap the marshmallow in the crescent roll. This represents the cloth they wrapped Jesus' body in before they placed him in the tomb. READ Matthew 27: 57-61 as the children wrap Jesus in the linen cloth. (This is a little difficult for some children and they may need help. Do your best to make sure the marshmallow is completely covered and that all the edges are sealed tight. Sprinkle the spice mixture on top so that they're extra tasty!)
6. Bake at 350 Degrees for 10-12 minutes.
7. Tell the kids that the oven represents the tomb and the time the rolls are taking to bake equal to the three days Jesus was in the tomb before he rose again!
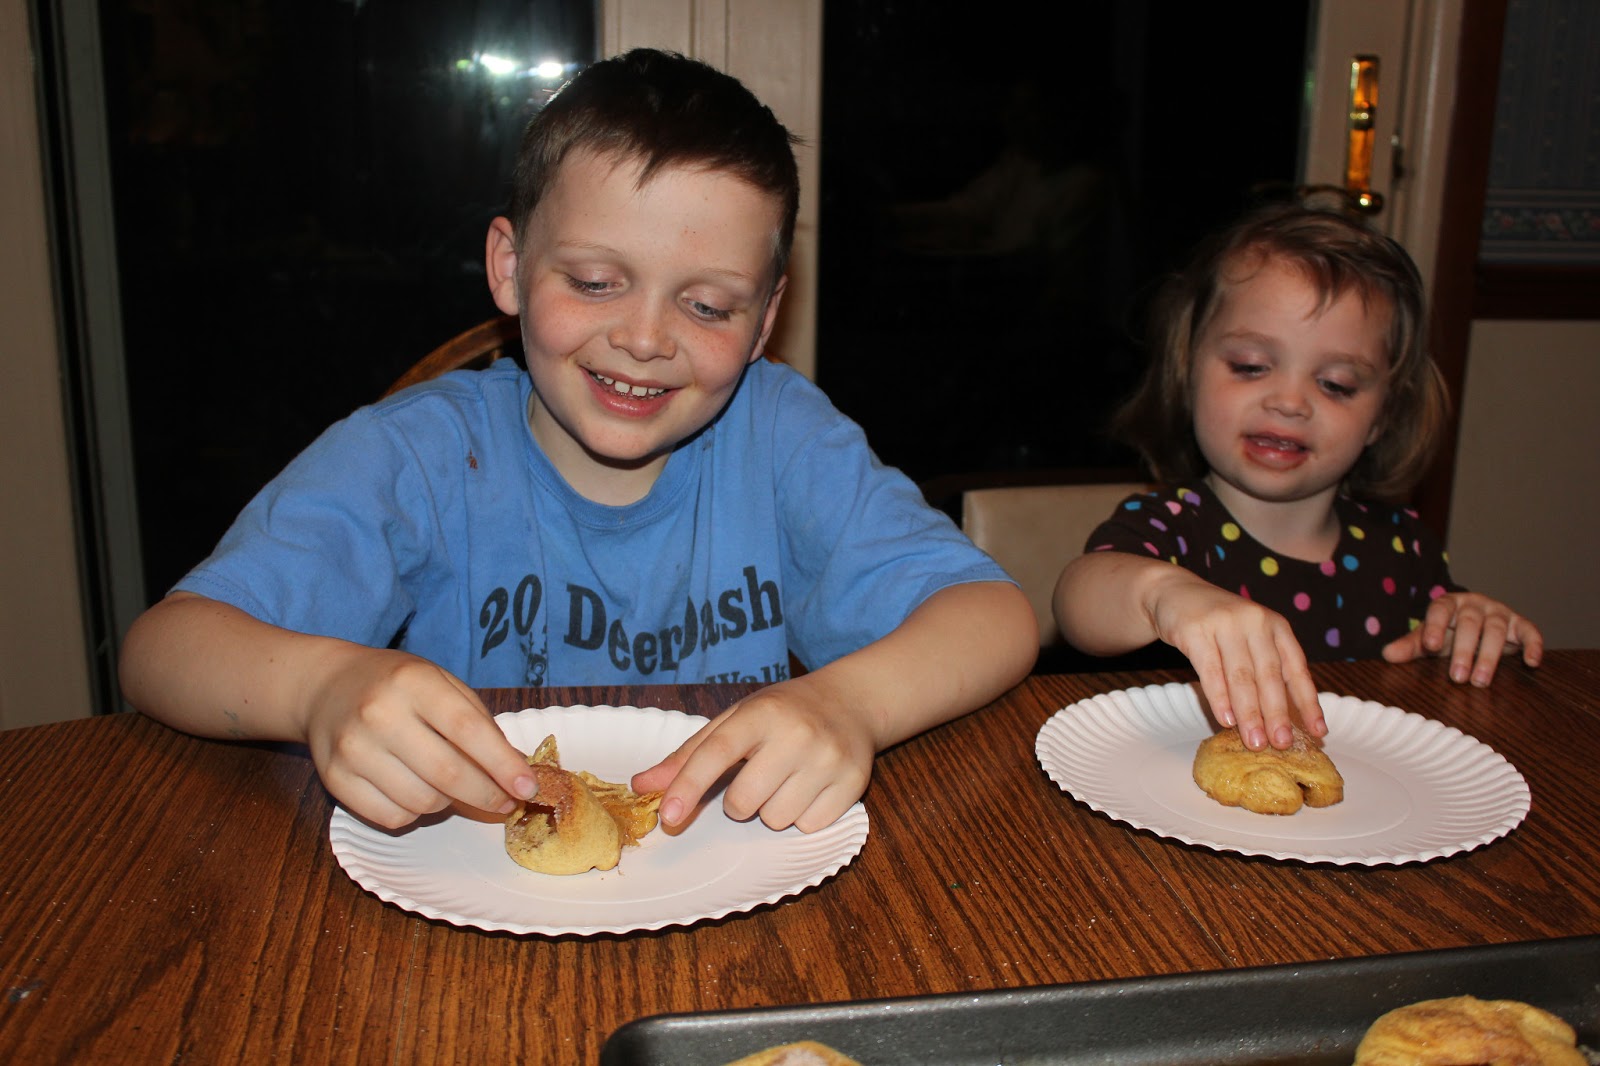
8.  Let your kids open the "cloth" and see that it is empty! Jesus is no longer there! He is Risen! The marshmallow melts as the rolls are baking! (Bake EXTRA! Some of the rolls tend to deflate and you will want enough so that your kids are disappointed!)
9. READ Matthew 28:5-8 as they eat.

Some of them will turn out like this.
BUT, some of them will also turn out like this!


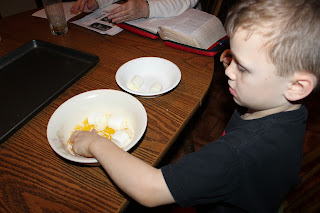
I LOVE how intently she's listening to the story of Jesus!