Tuesday, April 2, 2013

Dying Easter Eggs: The Old Fashioned Way!


First, let me say that I know MANY people who love buying those fun Egg Dying Kits at the store! But my family has dyed Easter Eggs for generations using three simple ingredients:

-Boiling Water
-Apple Cider Vinegar
-Food Coloring

For each color prepare a mug or cup with 1/2 cup of the boiling water and 1 tablespoon of the Apple Cider Vinegar. Add the food coloring to make any color you desire! This is so easy to do that you don't mind it when the kids beg to make new colors every two eggs! My grandmother, mother, aunts, sister and my kids ALL love dying Easter Eggs! We have dyed them together for years and the adults think it's just as much fun (maybe even MORE fun!) than the kids do! We dye about 5-6 dozen eggs and we are always disappointed when they are gone! My kids also love to eat hard boiled eggs and pickled eggs so none of the eggs we dye are wasted!


Resurrection Rolls: An Object Lesson About Jesus for Easter

This is a really neat object lessons for kids about Easter and the Story of Jesus! We did this the Saturday night before Easter because we had spent the day dying Easter Eggs and at an Easter Egg Hunt and we wanted to bring the focus back to Jesus and the reason we celebrate Easter. This was a big hit with our kids and we will definitely do it again next year!

This worked great because I had my mom help us out. She read the Bible verses and told the story of Easter to the kids while I helped them with their Resurrection Rolls. If you have older kids, doing this with one adult would work out fine. I have four that are 7 and under and felt I needed the extra help to keep everything under control.

You will need:
Crescent Rolls
Melted Butter
Cinnamon and Sugar Mixture
Marshmallows
Cookie Sheet sprayed with Pam.

Bible Verses: Read these ahead of time and familiarize yourself with the story of Easter.
Matthew 27: 57-61
Matthew 28: 5-8

1. Give each child a marshmallow. These represent Jesus.
2. Describe how after Jesus was crucified he was taken off the cross and his body was prepared for burial.
3. Dip the marshmallow in the melted butter which represents the oils that were used for embalming and preparing bodies for burial during Bible times.
4. Put the marshmallow in the cinnamon and sugar mixture, making sure to cover the marshmallow completely. Tell the kids that this represents the anointing spices that would have been rubbed on Jesus as they prepared to place his body in the tomb.
5. Wrap the marshmallow in the crescent roll. This represents the cloth they wrapped Jesus' body in before they placed him in the tomb. READ Matthew 27: 57-61 as the children wrap Jesus in the linen cloth. (This is a little difficult for some children and they may need help. Do your best to make sure the marshmallow is completely covered and that all the edges are sealed tight. Sprinkle the spice mixture on top so that they're extra tasty!)
6. Bake at 350 Degrees for 10-12 minutes.
7. Tell the kids that the oven represents the tomb and the time the rolls are taking to bake equal to the three days Jesus was in the tomb before he rose again!
8.  Let your kids open the "cloth" and see that it is empty! Jesus is no longer there! He is Risen! The marshmallow melts as the rolls are baking! (Bake EXTRA! Some of the rolls tend to deflate and you will want enough so that your kids are disappointed!)
9. READ Matthew 28:5-8 as they eat.

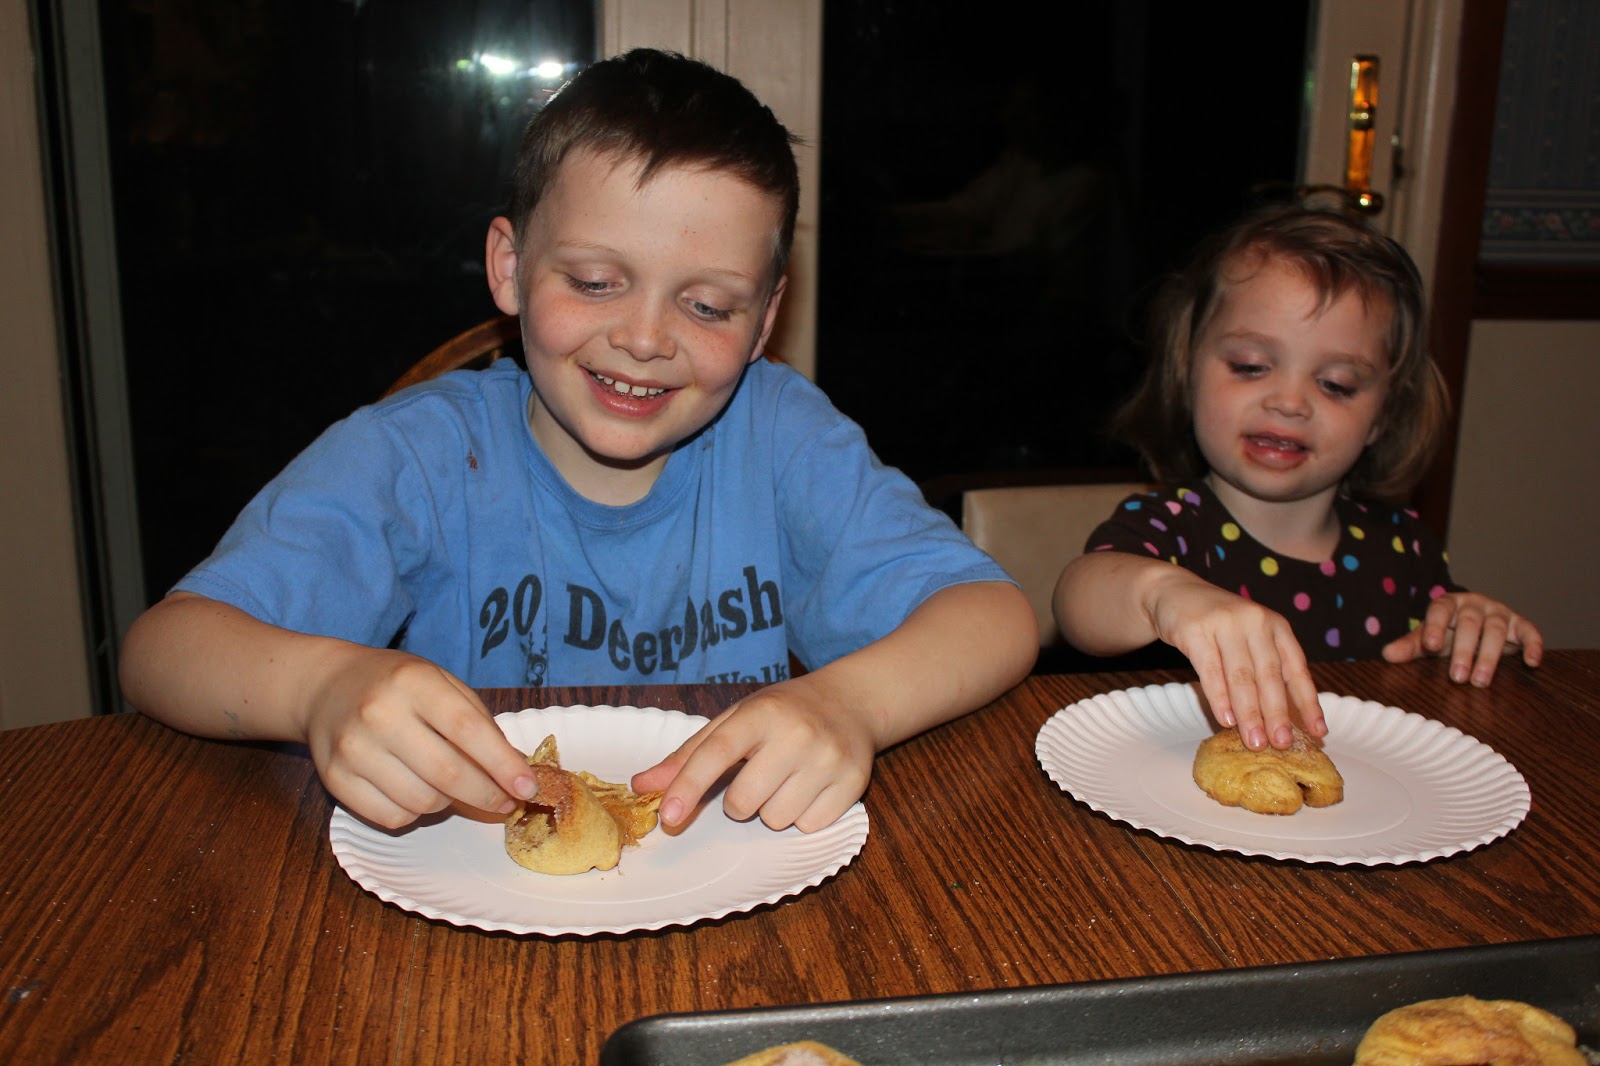
Some of them will turn out like this.
BUT, some of them will also turn out like this!


I LOVE how intently she's listening to the story of Jesus!

Thursday, March 7, 2013

"Free-For-All Art"

You'll have to forgive my hiatus from the blogging world. It's been a really long here and I find it hard to stay motivated when it's cold! We've been in a pretty steady routine of school, homework and extra-curricular activities that sometimes makes it hard to plan for our crafting adventures. We've also been doing a lot of spontaneous art with our art supplies. One of our favorite things to do is get out all of our crafting supplies and see where our imagination takes us! Around our house we've nicknamed this activity "Free-For-All Art" because it really lacks any rules and is definitely not a structured activity because sometimes you just need to be free of instructions and recipes!

Our first attempt at "Free For All Art" right before Christmas.

Saturday, January 19, 2013

Sewing Gifts for a Baby


This technically isn't a post for your crazy kids. It's more for crazy mammas who love to sew! Whether your sewing skills are advanced or more at the beginners stage, you'll find these projects pretty easy!

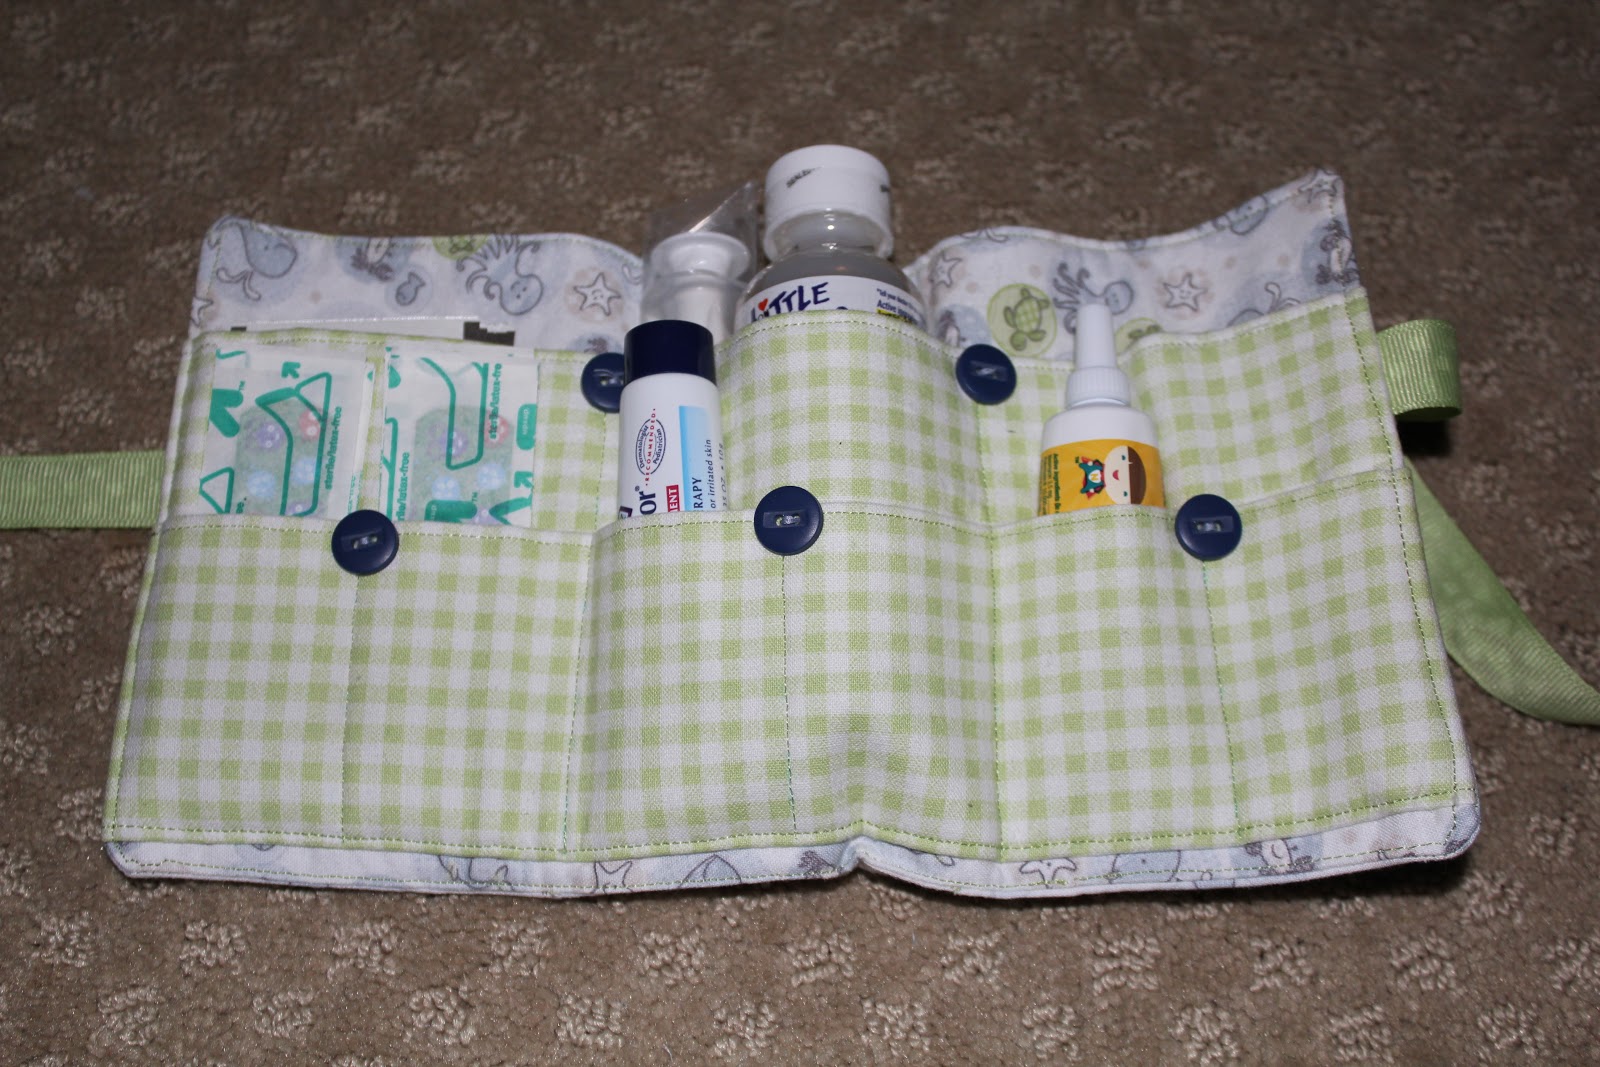
I sewed all of these for our new nephew and had a lot of fun picking out the fabrics and selecting what items to make! I just love how they all turned out!

Here's where I found all of these fun ideas! Most of these sites have really easy to follow instructions with pictures which is really helpful if you're a beginner.

Taggie Blocks:
 http://zaaberry.blogspot.com/2011/02/baby-soft-block-with-ribbon-tutorial.html

Doll: Simplicity Pattern # 2165


Portable First Aid Kit:
 http://www.positivelysplendid.com/2012/11/portable-first-aid-kit-sewing-tutorial.html

Diaper Pouch and Changing Pad:
http://www.bugglebeehandmade.com/2011/02/diaper-pouch-changing-pad.html


Taggie Blanket:
 http://www.waittilyourfathergetshome.com/2012/10/15/taggie-blanket/

Bips:http://sew-funky.blogspot.com/2008/02/tutorial-make-bib.html


Burp Cloths (the Free Pattern is below, but I used the layered method from the bips tutorial):
http://cloud9fabrics.blogspot.com/2010/12/tutorial-contoured-burp-cloths.html

Large Blanket:
http://www.sew4home.com/projects/bed-linens/stylish-baby-nursery-three-blankets

I hope if you decide to try any of these projects that you will have just as much fun making them for a baby you love as I did!

Advent Wreath and Study

This year I really wanted to try to  do an Advent Study as a family. Unfortunately I failed miserably because the majority of my children were still too young/immature to really be able to pay attention and I wasn't able to spend the couple of minutes needed to prepare for the study each day. Although we only were able to do the study a couple of nights, I still LOVED the idea and will try it again next year!

To start this year, I made my own Advent Wreath. This is pretty easy to do. I started with a foam circle from my local craft store and a set of advent candles. I pressed the candles into the foam to mark where I wanted them to go and then I wrapped two different kinds of ribbon around it. I gently lifted the edges of the ribbon to allow the candle to slip into the foam without revealing any of its green color! I just adore how mine came out and it was a great center piece for our table for the season.

I also really liked the Advent Study I found through Focus on the Family. It's a free download and specifically geared for families with young kids (although I think my 3 and 4 year-olds were a little young because they didn't grasp a lot of the concepts.) I will definitely try their 2013 version next year. You can look at the 2012 version here:
http://www.thrivingfamily.com/advent


Elf on the Shelf

Every year our Elf on the Shelf comes to visit on the first of December. Well he's really only been coming the last two years, but the kids think he's always been apart of our holiday traditions! Our oldest son named him Eddie the first year he arrived and Santa has sent us the same elf each year!

The kids love Eddie and they enjoy looking for him each morning! Our elf is pretty good compared to some of the really naughty elves I've heard of! He tends to pick a favorite spot and stay there for a couple of days (i.e. Mommy and Daddy forget to move him each night!) But it was a fun way to remind the kids to be on their best behavior for Santa!

Each year our kids write their letters to Santa. Our second grader wrote his himself while the other three kids dictated to me what they wanted to say in their letters. Once the letters were written we mailed them off to Santa! (SHHH- I mailed them to my sister!!! Who wrote them back in such a creative way!) The genius here is that I had Eddie bring them back from his visit to Santa and the North Pole one night! That morning was so magical! They were amazed that Santa had returned their letters and even more surprised that Eddie was the one who brought them back.


Friday, January 11, 2013

Christmas Countdown: Growing Santa's Beard

This is such a fun way for your kids to countdown to Christmas. Our very nice wooden advent calendar got broken last year and I replaced with a cute felt advent calendar. Unfortunately with four kids in our home a single advent calendar became something that was played with and fought over more than I would have liked and I needed to find an inexpensive alternative that would make them all happy. This free printable was so cute and just what I was looking for!

I printed one for each kid! Every day they added a cotton ball to Santa's beard. As Santa's beard grew, so did their excitement over Christmas!

You can find the free printable here:
http://playtimewithmommy.blogspot.com/2010/12/christmas-countdowns.html

I do apologize, I forgot to take a picture of Santa's full beard!!