We did two crafts for Spring this year that the kids loved because they were for
the birds! The kids and I absolutely love one of the trees in our backyard. It's
a nice big shade tree right outside our kitchen and dining room windows. The
birds and squirrels seem to love it too! There are always lots of critters
hanging around it. We have a large birdfeeder hanging from the tree, but we
thought it would be fun to add some other things that the birds might
enjoy.
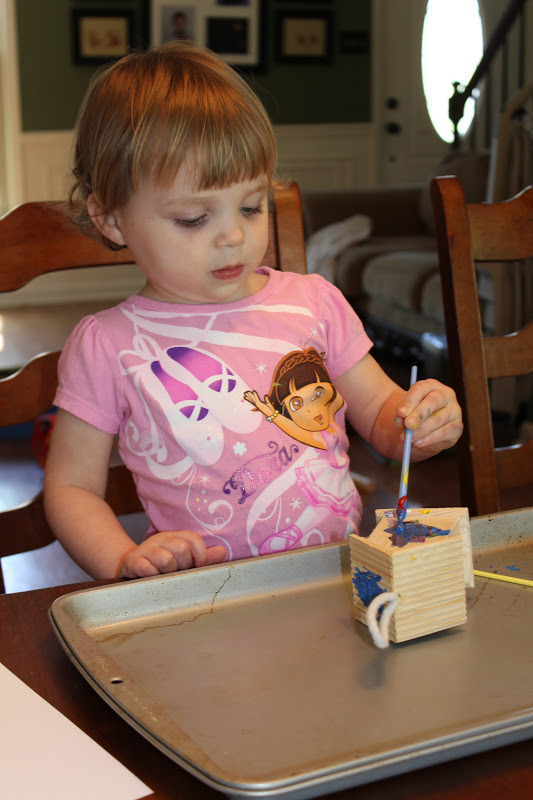
The first thing we did was paint small birdhouses to hang in the
tree. I had been shopping at our local craft store the week before and found
these neat little wooden birdhouses on sale for a dollar each. We had been given
paint and brushes as a favor at one of the birthday parties we had attended
recently so it was great being able to use them on the birdhouses! We only had
one real incident when Jackson decided that it would be funny to paint Lana
instead of his birdhouse, which of course made her cry because her new Dora
shirt was now "dirty!!"
Our second project was to make bird seed ornaments. We did this a few days after
we painted the birdhouses and it was a lot of fun. It took a little more skill
to do this so Tate, Lana and Jackson mostly watched as Nathan and I did the
majority of the work.
Here are the directions:
3/4
cup birdseed (we got the seed for small birds at
wal-mart)
1/4
cup water
1
small envelope of knox gelatine
twine
or string
cookie
cutters, molds or mason jar lids
wax
paper
*Mix
together the envelope of gelatine with 1/4 cup of water and bring to a simmer
while stirring. continue stirring until the gelatine is
dissolved.
*Remove
from heat and let cool for a minute.
*Stir
in the 3/4 cup birdseed. Adding a little more if there is liquid still in the
bottom of the pan.
*Lay
your cookie cutters out on wax paper and fill half way with the birdseed
mixture.
*Cut
your twine, knot the end and push the knot down into your
birdseed.
*Continue
filling with birdseed, covering the end of your twine and
knot.
*Push
the birdseed evenly into the cookie cutter until it's
full.
*Allow
them to dry overnight, turning them over every now and
then.
*Remove from the cookie cutters and hang them
in your trees.
*Then wait by the window to watch for your first guest.


 In one of my many visits to Pinterest I read about tapping down one end of the string to the table to help make it easier for little fingers to thread their beads. This worked so well!! I definitely recommend it! My almost 3 year-olds twins had a little trouble figuring out what they had to do with their hands to get the beads to stay on the string, but after I helped each of them with the first couple of beads they were soon doing it on their own! They both LOVED their necklaces and wore them proudly for a long time!